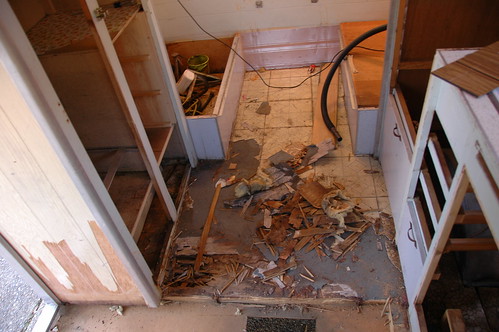
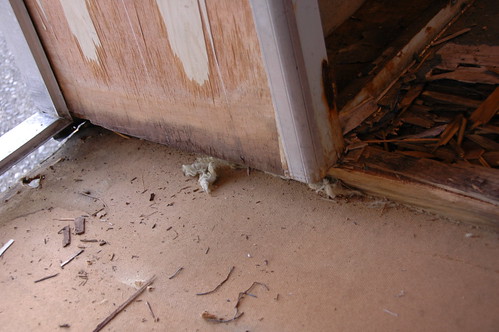
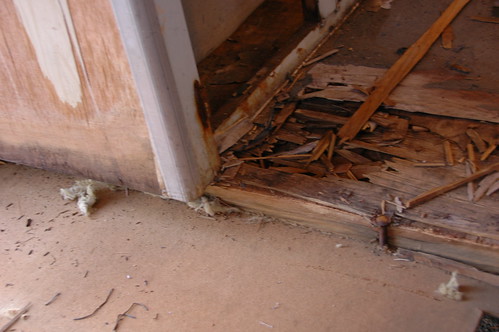
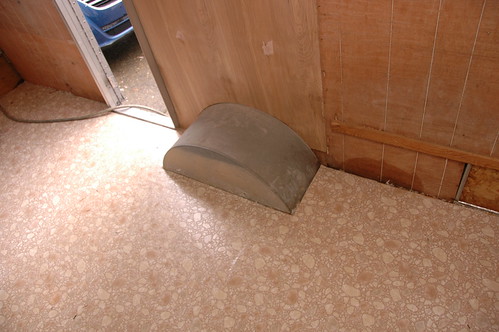
So out it came and I found myself removing a lot of flooring... all the way to the door crumbled once I got that vinyl tile up. Here we go.

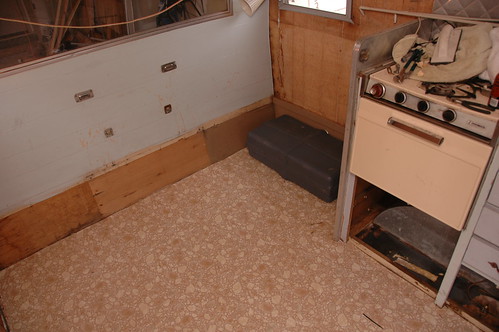
I thought this area (under the Sofa Bed) was solid... nope, the corners were toast too. Out this came too. My Jigsaw pictured there because my best friend in this situation.
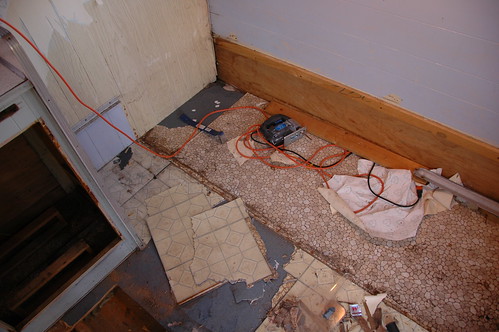
I eventually had to remove just about all of the floor you see back to the back wall, and to get to it, you guessed it, the closet had to come out too.
See? the water damage destroyed the closet. Now let's talk about this for a second. Someone thought it would be a good idea to screw the closet in from the outside. So picture a wood frame, insulation and a tin skin. So before the skin, they screwed the closet to the ceiling frame. So without wanting to remove the whole ceiling and outer skin of the roof, I had to tear out the closet a small piece at a time. It was destroyed in the process. All that was salvaged was the drawers, handles, mirror, coat rack and these aluminum corners. ( I didn't take notes or enough pictures when removing it, had to rebuild it based on the holes and the marks in the ceiling. Oops!)
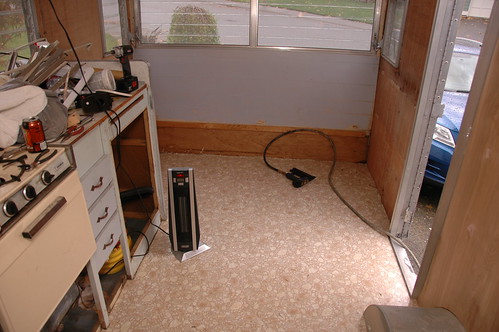
This shows the extent of the floor damage... it came up easier vaccuming it then anything else.
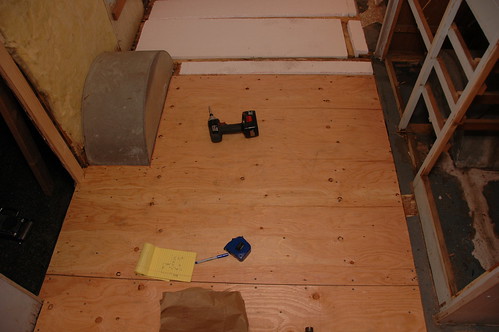
So everything out, rebuilt a lot of structure of the flooring (filled the heater's hole) new 2x6 and 2x4's all the way accross under the Kichenette. Solid! 5/8" plywood and 2" styrofoam insulation.
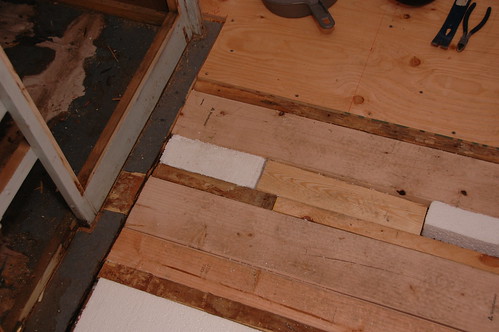
Here is a good shot of the new footer under the door frame, you see the original 2x2 then new 2x4, 2x6, foam, 2x6 and there is another 2x4 already covered to the right. Excessive? Nope!

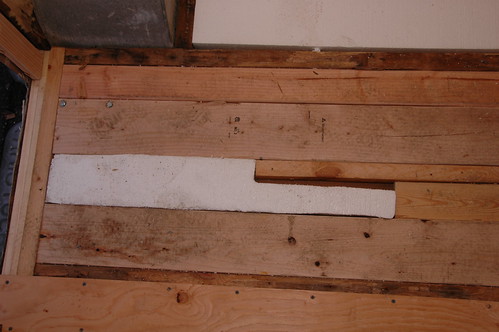
Another shot... notice the lag bolts to the left? That is the steps... it was literally falling off the trailer when I brought it home. :( Good thing I got to her when I did!
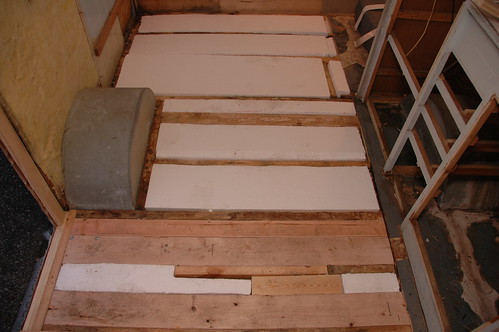
The rest of the Foam (removed a bit of the wall (back of the closet)
More plywood, all screwed down really well. It compressed the foam as I screwed it down... nice and tight, no squeeks here!
New flooring put in and water tank re-installed
The front (wall replaced by the wheel well)

New floor all the way up!
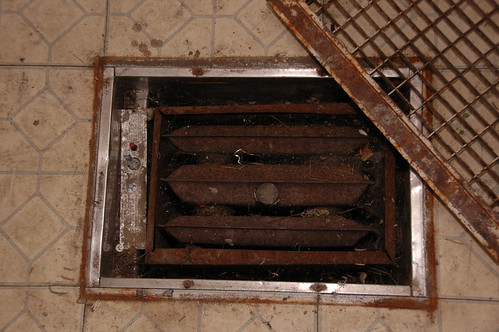
Much better! Now I have something solid to work with. Oh, and no heater grate to stub toes or burn little feet.
Next Step: Re-building the Closet back to it's previous glory (after a few rebuilds)

Hey I was wondering where you found the flooring?
ReplyDelete