Friday, July 24, 2009

Problems and Fixes in the same post!

So we hitched it up to take it down to the Car show Friday Afternoon... (Last weekend) and just before I drove off, I thought, "well, I had lights off the trailer, I should check the lights). Normally, the lights work flawlessly and I just make sure the side marker fires up and the reat work just fine... nope! All 4 side markers were dark... tail lights were dark... Right turn didn't work, and Right Brake didn't work... oh no!

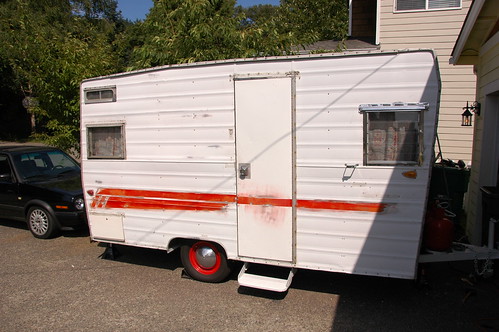
Well with some fiddling around and still nothing I headed out and followed my wife in the GLI down to Tacoma with only one stop turn signal!! (In heavy traffic).
DSC_5809

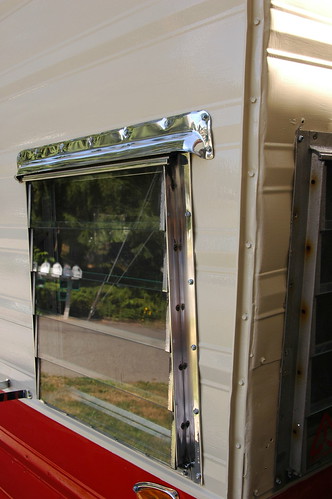
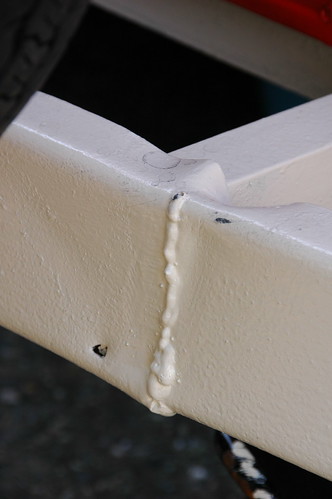
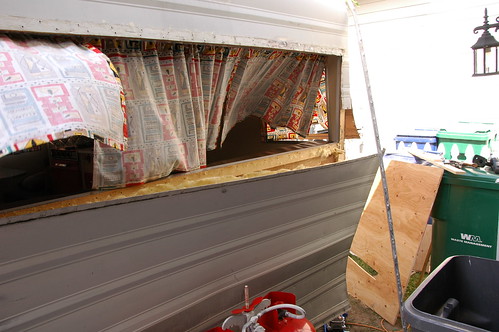
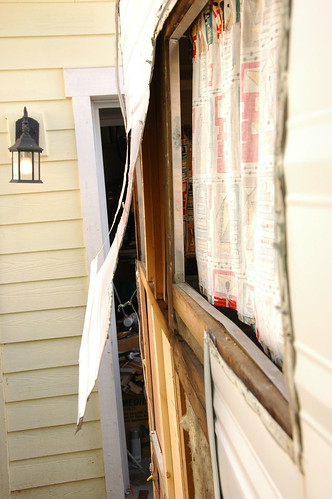
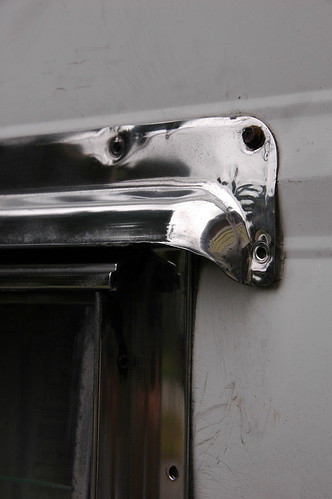
At the show on Saturday night I had some time to fiddle with it, so I ended up tearing into the front corner where I made repairs as I thought I'd find my culprit there... didn't find anything... sadly put it back together, still not working quite right. Towed it home again with one turn signal... :(

So last night I decided to fiddle with it again. Took out the 12v battery to test with, and remounted the ground and sanded off any oxydation on the connector. Put the ground onto the frame instead of just the skin this time!

After I confirmed the lights 'Work' by running leads to each light and trying them out. Found out the ground was good still... so what was the problem? Tail light? Nope all good there... running light wire? seemed to be okay... hmmmm.

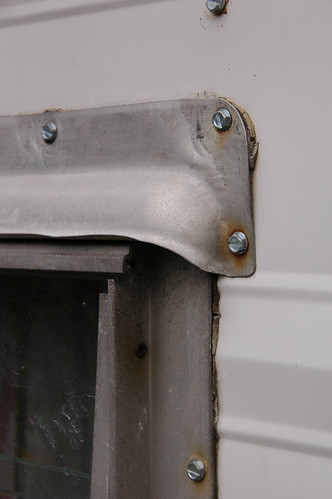
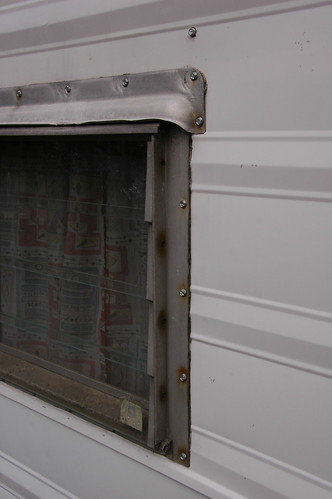
So after tearing it all apart, the lights started working, great! Now let's put it together SLOWLY, and with the lights ON, so I know when they turn off. If it wasn't the LAST screw I put back in (after re-sealing that corner for the 3rd time!!) and I had to take it back apart again!

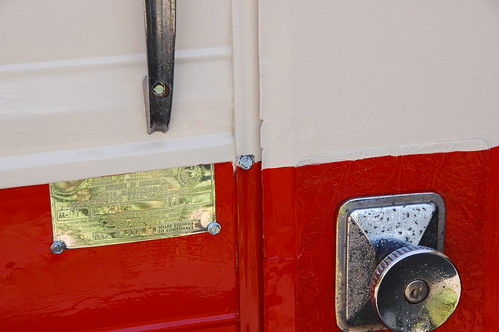
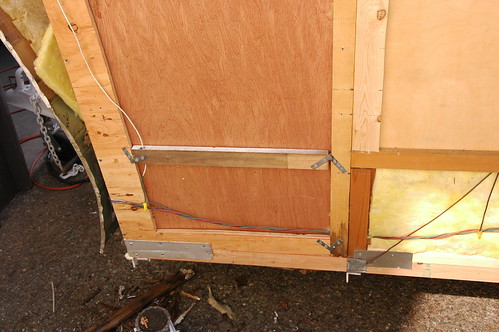
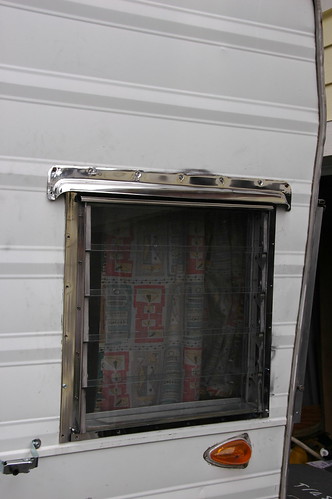
"The Problem" was they knotted the wires at each corner, I'm sure to allow them to pe wedged in the skin so they wouldn't slip down when you had a light off... but, not thinking about it, as I screwed in the bottom wire for the light, it went right into the center of the knot and grounded out the running lights. Then, the newly bare wires touched the skin even when I took that screw and light out.

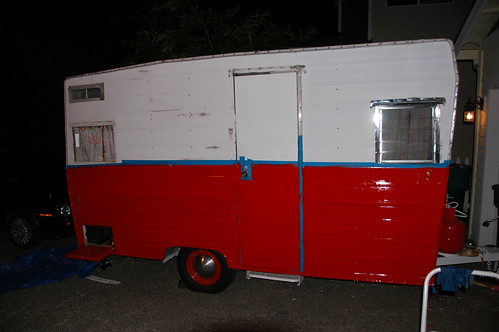
All better now! Everythng is rewired, shrink wrapped up tight and protected and working like a charm!

whew!

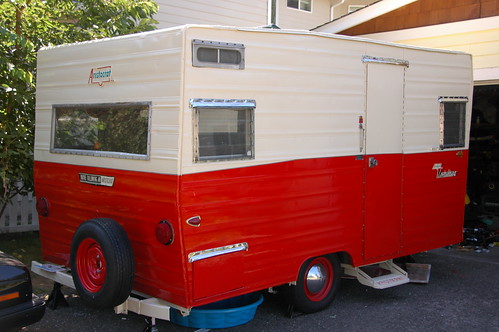
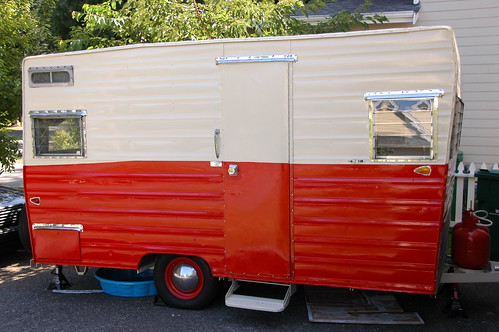
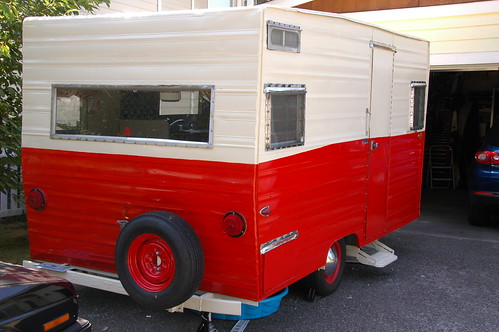
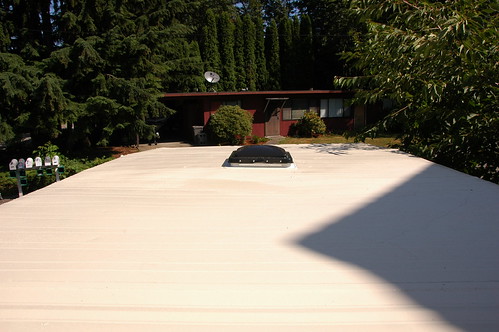
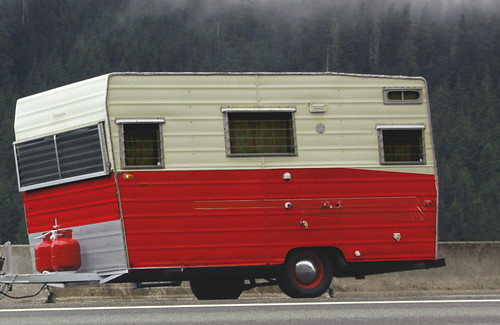
Here is some shots at the Car show.
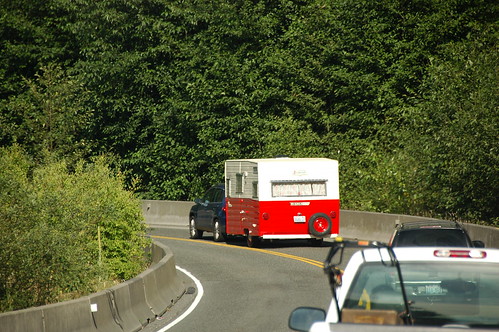
on our way:
DSC_5810

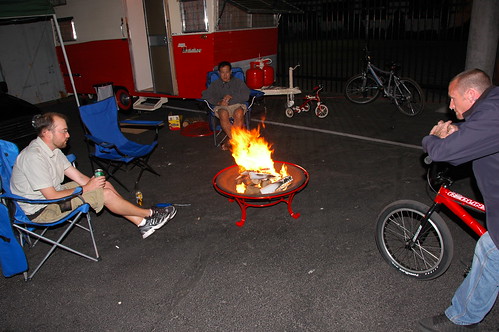
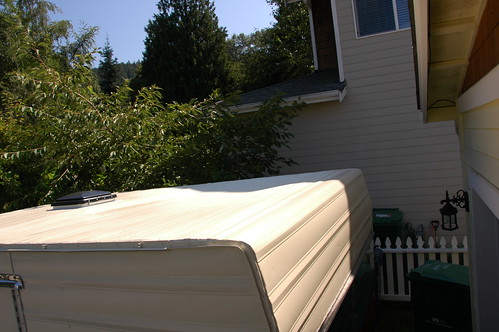
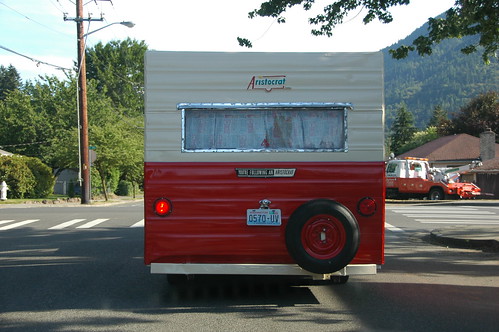
all set up for blacktop camping :P
DSC_6079

Pull Ryan, Pull!!! Need some Fancherlube?
DSC_6097

Clockwise - Ryan, Hil, and Chris
DSC_6105

Thursday, July 16, 2009

More updates... pin-stripe and badges on!

Upper Front (sorry about the Shadow)
DSC_5800

Starboard
DSC_5801

Rear
DSC_5802

Upper Rear
DSC_5803

Whole Rear
DSC_5804

As She Sits Now
DSC_5806

Silver Pinstripe
DSC_5808

Badges almost ready to go!

DSC_5781

I just need to throw a few coats of clear over to get a bit more gloss out of the colored paint... those Elmer's paint pens don't keep a very good gloss when they dry. oh well, Testors was limited on colors. (BTW The Elmer's pens are 50% off right now at Michael's in Issaquah) :)

As they sit in the picture;
"Following" goes on the rear above the License plate. (yes that is a smiley with it's tounge out. :P
Big Aristocrat Trailer goes on the rear above the window.
2 small Aristocrat trailers go on the sides, under the front windows.
Red Mainliner will go on the front above the window (on white paint)
The 2 black Mainliners go beside the small trailers on the sides (on red paint)
Little A badge, goes above grab handle by the door.

Paint is on!!!

So I don't have all of the windows polished yet, but here is a look at the progress so far... Came out looking almost EXACTLY like my last photoshop... good idea to mock up paint before you lay it down.

Ended up just using a brush to slather it on... this paint acted really, really weird.. it spread like tar, but ran like water. Go Figure! :)

DSC_5715

DSC_5718

DSC_5736

There is now a 1/4" silver (couldn't find chrome) vinyl pinstripe between the red and white sections... it runs just under the lip where the white meets the red on the sides, follows the angle and wraps around the front and rear. I need to go get another roll... I thought 36 feet would work, that's what I get for trying to think with a 2 year old in the paint isle of an auto parts store... 12 + 12 + 7 + 7 does not equal 36... streching it in a few places I was able to make up about a foot or so... had to piece together hand cut pieces from the Sample window piece... it's all the way around, but I'll replace the rear stripe eventually.

okay more pics...

hand painted lines with a 1" brush... not bad, eh? (it's supposed to be angled)
DSC_5739

The polished windows look really nice against the new paint!
DSC_5740

running everything I come accross on that polishing wheel...
DSC_5742

even painted the Frame and ROOF!
DSC_5748

DSC_5753

Color Matched the new badges with a base coat of the White.
DSC_5757

Here's the bumper weld... not too pretty but fixed, and that's what matters most!
DSC_5766

so you can see how I painted the frame... that goes all the way up to the tounge. "If it's something worth doing..."
DSC_5769

like I was saying... tar-water paint... brushed on did give it a nice gloss shine... I made the mistake of rollering a section after doing the roof... finish is flat and lifeless there, but here you can see the shine! I will still wetsand and buff after the paint has a while to cure (1 month?)
DSC_5778

okay before I get to the paint pictures....

when I was doing the inside walls, as I mentioned earlier in this blog... I forgot to insulate a section of the wall. Specifically between the window and the Kichen Cupboards, 3 feet and up to the ceiling. so I took that corner apart to insulate it... and I remembered I also had some rot down there that I left alone... well even my repair didn't hold well, so I rebuilt that corner.

Scary... pulling of the siding!
DSC_5658

DSC_5671

Okay so the big L you see is a new piece, around the corner in the front there is a new 1x3" too... so that corner is all new now. Also, that footer is new (had to rip a 1x4 down... weird size like actual 2"!) and replaced and supported a couple cross pieces. I used that tin to help protect the corner and keep it all together. A lot stronger now!!
DSC_5667

the old girl is sanded and ready for paint! Bye Bye Aristocrat Stripes!
DSC_5664

The red went on first (stupid, should start on the upper section first... less runs to touch up later... ask me how I know!
DSC_5683

the next morning I touched up the red a bit, then started with the white. This white was matched from my son's radio flyer "retro" trike... I used the seat to color match the Valspar Industrial Anti-rust, Scratch-Resistant Oil Based Enamel(Smae exact paint they use for the tractor and implement paint, typically IH White is used). I call it "Radio Flyer White". (notice how blue (cold) the old paint is in comparison) the new paint really warmed up the exterior, and gave a preview of what's inside :)
DSC_5697

Thursday, July 9, 2009

The paint countdown Begins!

So I towed the trailer down to a friends house last night to help me weld up the broken bumper. That is nice and silid now. While I was there, I noticed he still had the pieces he cut off another trailer ready to go to scrap... so I decided to weld those up too... so now I have skid guards to protect the bumper from steep driveways ripping it back off again.

Bumper is welded... Windows are coming out... no more pictures for a while until it's done! :)

Wednesday, July 8, 2009

So I started to remove and polish the windows (and remove the old putty)

so the rest of the windows and eyebrows that look like this:
DSC_5653

DSC_5654

will turn into this: (hopefully) :)

DSC_5649

DSC_5656

DSC_5651

DSC_5648

now, they are not perfect... but a vast improvement... with a 6" wheel, I'm limited on where I can polish... so there are some parts that got missed for now.

what's funny, is I think I was able to do slightly better(and quicker) job polishing it while it was still on the trailer (see black marks on paint) by simply lifting the whole grinder up to the window. :) not the safest way to do it... but seemed to work well...

I'll have to post a picture of what my face looks like after the next round of polishing... everything from my neck up, including my ears was covered in black dust. I had my eyes and my lips and everything else was black... if it wasn't 2:00am when I finally stopped I might have taken a picture, but I was too tired. :)

Tuesday, July 7, 2009

Got my paint! I decided to go with the matched paint... so I took my son's vintage look Radio Flyer trike seat to Johnson's DoIt center, they matched the paint color EXACTLY to what I wanted. This is the SAME paint they use for the Tractor and Impliment Paint, just it came in a Pastel Base Gloss that was tintable. It was even the same brand too, Valspar.

They had the John Deer Green on the shelf too and she assured me it was the same stuff.

So I got a gallon of my "Radio Flyer White" and a 8oz bottle of Enamel hardener.

All I need now is another quart of the Safety Red, an empty paint can (I'm only going to "activate 1/2 gallon of the White at a time to see the coverage... once the hardener is activated it only has a shelf life of about 8 hours)

So I will be using the white to paint the bumper, frame, step, tounge, upper half of the trailer, the roof, and the badges.

The lower half will be Safety Red to match the Wheels, Tanks, Interior... I think I decided (not 100% yet) on moving the red up another notch to the seam just below the front side windows (following it back it is also right below the door catch, the tin badge under the grab handle, and angle down the same way as above but the rear will wrap around right above the "following" badge on the rear.

Now the other thought I have is... should I paint the tounge, bumper, Step and Frame RED to go with the wheels and Paint the tanks White? or keep the lower portion the same as it is now and just repaint it the new white?

Also, should I polish the splash guard on the front (behind the tanks) or just paint it red? Decisions decisions!!!

I'm going to paint the red on the lower body first... that way I can see if that is what I want before painting the white on top.

Here's what I'm thinking... thoughts? Be honest I'd rather hear it now then after it's painted! :)

Alt2

Search This Blog