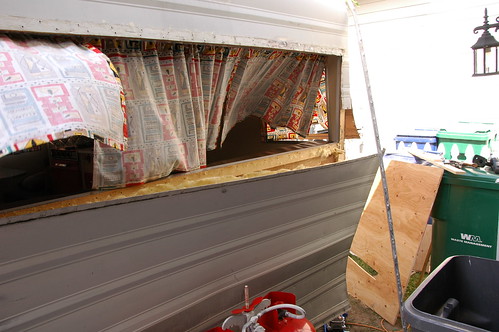
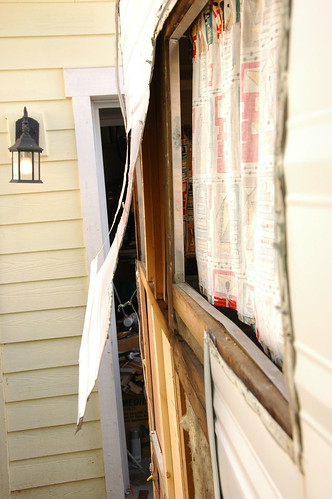
Scary... pulling of the siding!
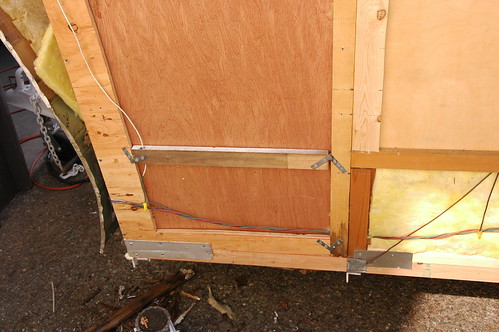
Okay so the big L you see is a new piece, around the corner in the front there is a new 1x3" too... so that corner is all new now. Also, that footer is new (had to rip a 1x4 down... weird size like actual 2"!) and replaced and supported a couple cross pieces. I used that tin to help protect the corner and keep it all together. A lot stronger now!!
the old girl is sanded and ready for paint! Bye Bye Aristocrat Stripes!
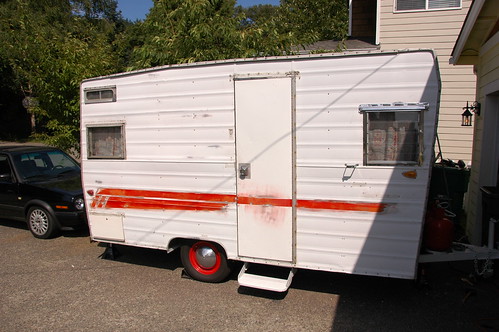
The red went on first (stupid, should start on the upper section first... less runs to touch up later... ask me how I know!
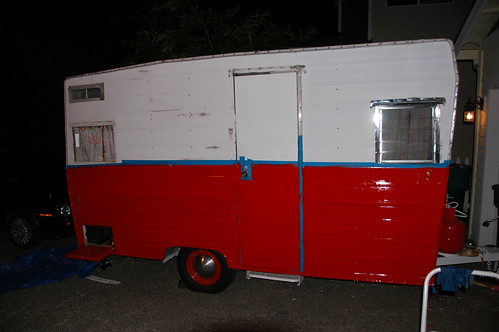
the next morning I touched up the red a bit, then started with the white. This white was matched from my son's radio flyer "retro" trike... I used the seat to color match the Valspar Industrial Anti-rust, Scratch-Resistant Oil Based Enamel(Smae exact paint they use for the tractor and implement paint, typically IH White is used). I call it "Radio Flyer White". (notice how blue (cold) the old paint is in comparison) the new paint really warmed up the exterior, and gave a preview of what's inside :)


No comments:
Post a Comment
Your comments are welcome! Please include your name in the comment as you will only be shown as "Anonymous" and I need to approve all comments efore they are posted. If I don't know who posted the comment, I won't post it to the blog. Thanks for the comments, they are appreciated!